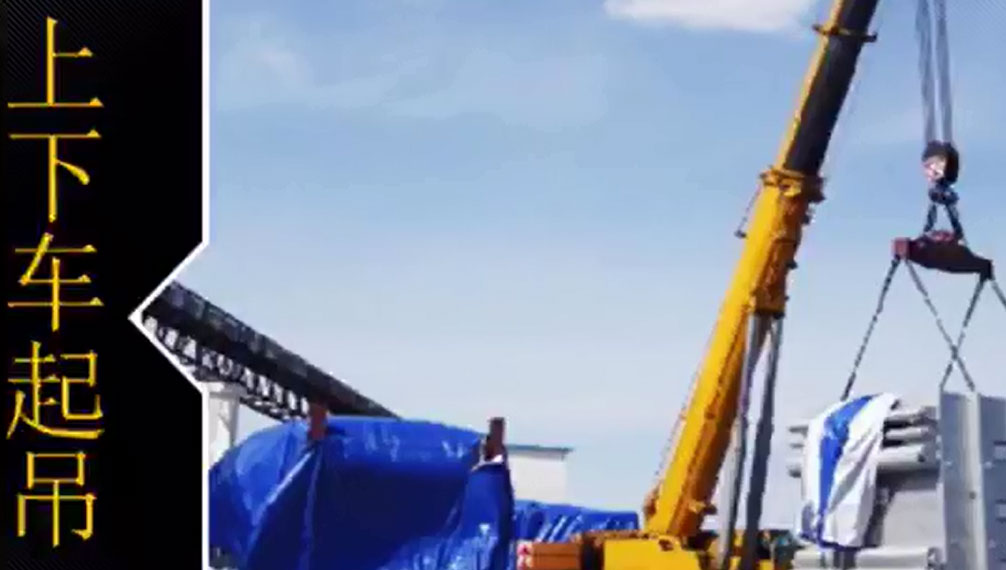
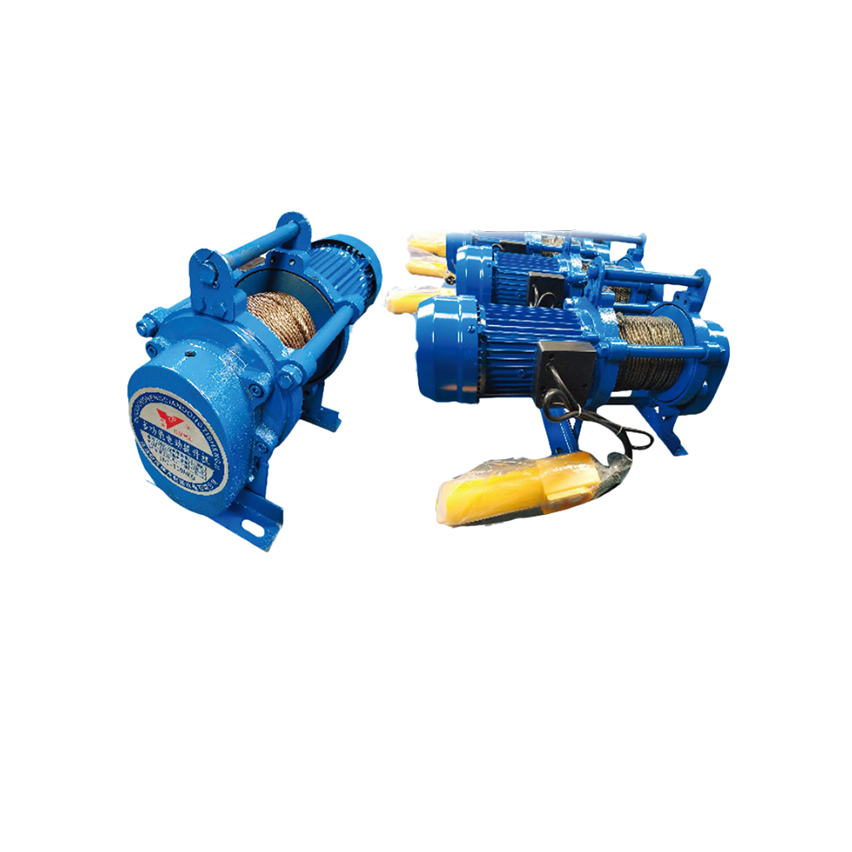
As the name implies, group hoist
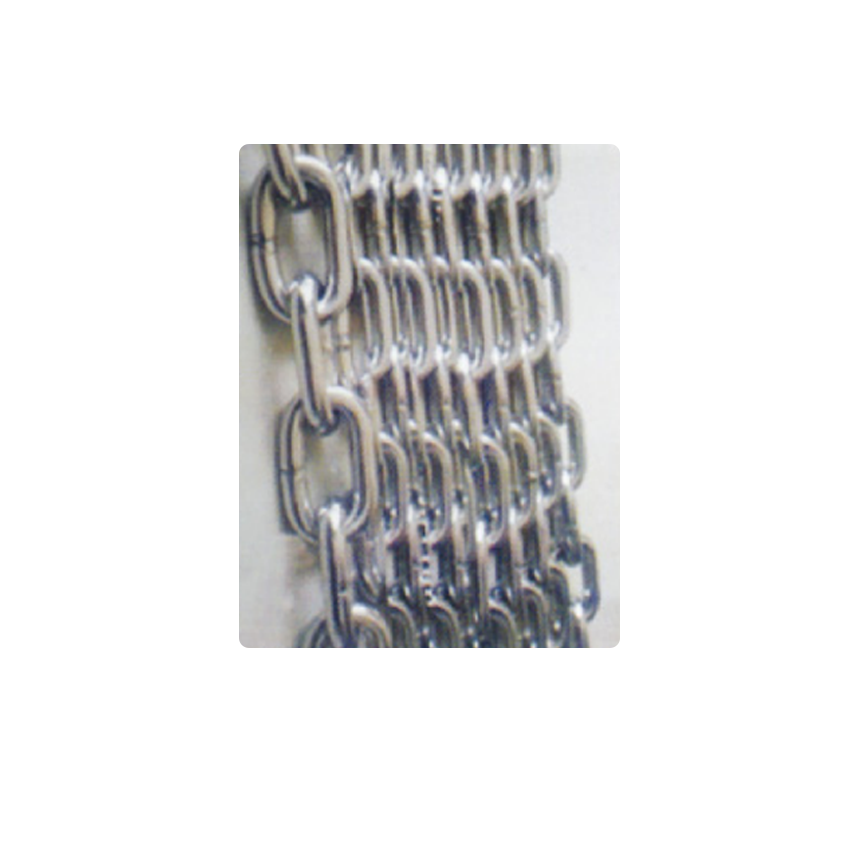
electric hoists hoist many hoists together to lift the same item. The objects hoisted by group hoist electric hoists are generally large and heavy. It is not an electric hoist that can be hoisted. Before lifting, check whether the back bar of the electric hoist of the group crane is compressed, whether the gantry clamp is welded firmly, and whether the bracing of each lifting column is welded. Then, the inverted chain hook of the electric chain hoist is hung on the ear of the expansion ring to make the tension level even, and it is inspected by a row of people. When ready, start to test the group hoist electric hoist lifting. When lifting, a dedicated person centrally controls the group hoist electric hoist to run synchronously through the control cabinet. During the lifting process, you must pay close attention to whether the group hoist electric hoist lifting is stable and normal. And after eliminating hidden dangers, they began to improve again. Pause when lifting about 500mm, check whether the lifting height is consistent, whether the power is balanced, whether the welding of the lugs and the gantry fixture is intact, whether the lifting column is abnormal, and whether the reverse chain is running synchronously. If the chain reversal is not synchronized, the individual chain reversal control shall be adjusted until the stress state and the lifting height are consistent. After the completion of various inspections and treatments, centralized control is carried out again for tank lifting. If the group hoist has no abnormalities until it reaches the required height. After lifting into place, tighten the sealing chain and start to align the ring seam between the top section and the second section of the wall plate. When the ring seam group is aligned, the chain can be raised and lowered individually to challenge the gap between the ring seam group. Welding fixed. When the panel is aligned to the left and right of the sealing plate, the margin of the siding at the sealing is cut, the longitudinal seam of the sealing is paired, and then the outer weld of the longitudinal seam at the sealing is welded. After the longitudinal seam welding is completed, the girth seam is then welded. If the welding seam requires double-sided welding forming, after the outer mouth is welded, the inner mouth is cleaned. After passing, the inner mouth weld is welded. After the inner and outer mouth are welded, after natural cooling, the back bar is sprinkled and installed to the second two. The lower end of the section plate is tightly fixed, and the expansion ring is removed and installed at a suitable position on the lower side of the second section plate. Install the remaining lifting columns and hang 10t chains. The reinforcement of the columns is the same as above. The corresponding two columns are tightened with a steel rope through the center column. Install the third section board on the outside of the second section wall board, after the surrounding boards are assembled and paired. After the longitudinal seam is welded, repeat the above-mentioned safety inspections as in the lifting of the top section wall panel, raise the second section wall panel, and then group the ring seam between the second and third sections to form the third and third section seals. Longitudinal seam, and welded seam seam. After welding, the back bar and expansion ring are dropped back, installed to the lower end of the third section wall plate, repeat the above process until the whole tank wall is installed.